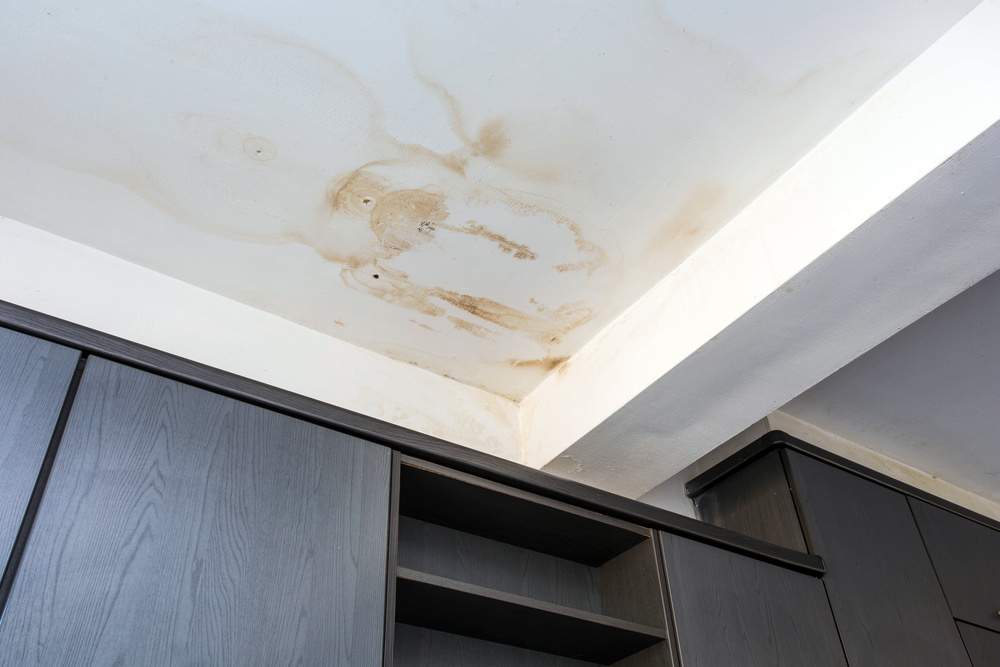
A heavy storm is pounding against your roof, rainwater is seeping through the ceiling, and panic sets in. The last thing you want is water pooling inside your home, damaging furniture, floors, and electrical systems.
In Minnesota, where unpredictable weather brings everything from heavy snowfall to powerful summer storms, roof leaks can happen when you least expect them.
Many homeowners assume they must wait until the storm passes before taking action—but quick, strategic steps can help minimize damage before calling a professional.
In this guide, we’ll explore immediate steps Twin Cities homeowners can take to stop a leaking roof during a storm and discuss ways to prevent future leaks before the next big weather event.
Key Takeaways
- Identifying leaks early reduces repair costs and prevents further damage.
- Temporary fixes like tarps and sealants can protect your home until help arrives.
- Safety comes first—avoid climbing on a wet or slippery roof during a storm.
- Hiring a professional ensures all structural issues are thoroughly addressed.
- Regular roof inspections prepare your home for Minnesota’s extreme weather.
5 Immediate Steps to Stop a Roof Leak During a Storm
Step 1. Locate the Source of the Leak
Water follows the path of least resistance, making roof leaks tricky to identify. Your first step is to locate the source so you can contain the damage and apply temporary fixes.
- Check your attic: Use a flashlight to look for water trails, damp insulation, or discoloration on the wood or ceiling joists.
- Inspect your ceiling: If you don’t have attic access, look for sagging spots, dark stains, or active drips.
- Follow the water flow: Even if the leak appears in one spot, water may have traveled from another area of the roof.
Pro Tip: If you’re struggling to pinpoint the exact source, focus on containing the leak inside your home while you wait for better conditions to investigate further.
Step 2. Contain the Water Damage Indoors
Once you’ve identified where the water is coming in, you need to prevent further damage to your home’s interior.
- Place buckets, bowls, or large containers under the leak to catch dripping water.
- Use plastic sheets or waterproof tarps to cover furniture, electronics, and valuables.
- Poke a small hole in bulging ceiling areas to release trapped water and prevent the ceiling from collapsing.
Step 3. Apply Temporary Leak Seals
If it’s safe to do so, take action to reduce the water intrusion by sealing the leak temporarily with these products:
Roofing Tape or Waterproof Sealant
For small cracks or gaps, high-quality waterproof roofing tapes like Flex Tape® or Gorilla Waterproof Patch & Seal Tape can provide an immediate barrier against leaks.
If you have access to roofing sealant, brands like Henry’s Wet Patch® Roof Leak Repair or Dicor Self-Leveling Sealant work well, even in damp conditions.
Rubber Patches or Sheet Metal Pieces
For larger openings, applying EPDM rubber patches (commonly used in flat roofs) or a thin piece of galvanized sheet metal can reinforce the damaged area.
Home improvement stores around the Twin Cities, such as Menards, Home Depot, and Fleet Farm, carry these materials year-round.
Plastic Sheets or Heavy-Duty Trash Bags
If you’re in a bind, a contractor-grade plastic sheet or large trash bag can act as a temporary waterproof shield. Secure them with duct tape or staples to create a makeshift barrier against rain.
Safety Reminder: Never attempt repairs on a wet, slippery roof during a storm. Only address leaks from inside the home until it is safe to go outside.
Step 4. Cover the Roof with a Heavy-Duty Tarp
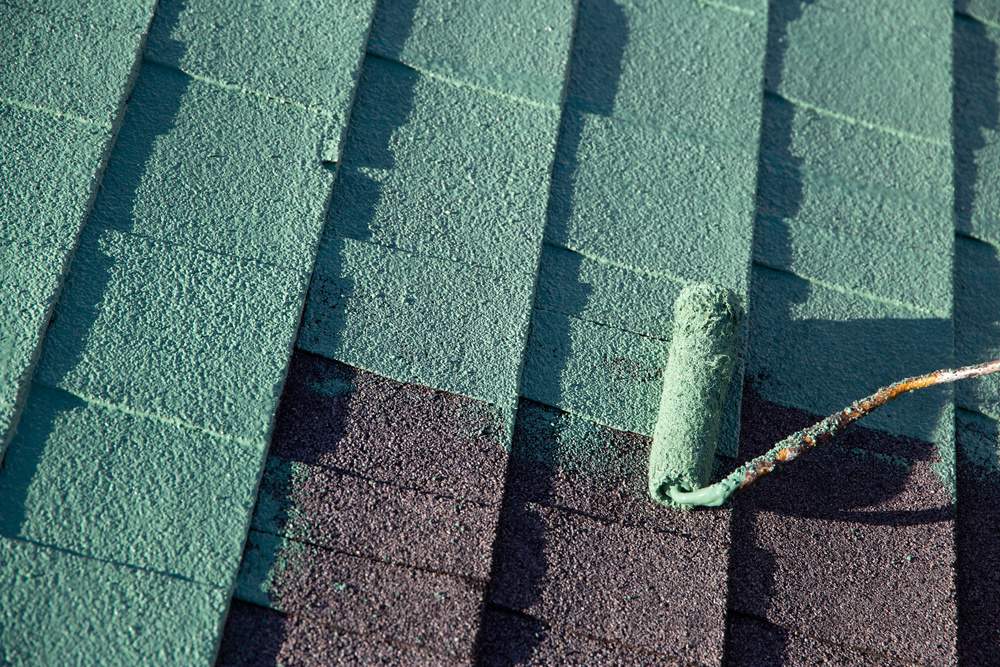
One of the best temporary solutions for a leaking roof is to cover the damaged area with a heavy-duty tarp. This helps prevent further water intrusion and minimizes structural damage until professional roof repairs can be made.
Choosing the Right Tarp
Not all tarps are created equal. For storm damage, it’s best to use:
- Blue Polyethylene Tarps – Affordable and widely available at Home Depot, Menards, and Fleet Farm, but less durable for long-term use.
- Heavy-Duty Vinyl Tarps – More durable and resistant to tearing, making them a better option for strong winds and heavy rain. Look for brands like Tarps Plus, TRM WeatherAll®, or Xpose Safety®.
- UV-Resistant & Waterproof Tarps – If you need longer coverage, consider a Rip-Stop Tarp or Super Heavy-Duty Poly Tarp that can withstand Minnesota’s fluctuating weather conditions.
Steps to Secure a Tarp
- Choose a heavy-duty tarp large enough to cover the leaking area, extending past the damage by at least 3-4 feet to prevent water from seeping underneath.
- Weigh it down with wooden planks, bricks, or sandbags to prevent wind from lifting it.
- Secure the edges with nails or screws, but avoid puncturing undamaged shingles. If you need a non-invasive method, use bungee cords or heavy-duty clips to attach the tarp to anchor points like gutters or eaves.
Step 5. Set Up a Rainwater Diversion System
If the leak is significant, preventing water from spreading further inside your home is crucial. Setting up a rainwater diversion system can help manage the incoming water more effectively.
- Use a hose or tubing: If possible, attach a hose to the ceiling leak and direct water into a bathtub, sink, or bucket.
- Place multiple buckets or containers strategically: Swap them out as they fill to prevent overflow.
- Lay down towels and mops: Soak up excess water quickly to protect your floors and reduce the risk of mold growth.
Pro Tip: Use a plastic tarp or shower curtain liner underneath buckets to protect hardwood floors and carpets from additional water damage.
When to Call a Professional
While these temporary solutions can help mitigate damage during a storm, they are just that—temporary. A roof leak is often a symptom of a bigger issue, and without professional weather repairs, the damage can worsen over time.
Why DIY Fixes Aren’t Enough
Even if you’ve managed to stop water from pouring in, the underlying damage to your roof remains.
Water may have already seeped into your attic, insulation, and structural components, creating the perfect conditions for mold, wood rot, and long-term instability. A professional inspection ensures that every hidden issue is addressed before it turns into a major problem.
Signs You Need a Professional Roofing Contractor
- The leak continues to worsen despite your efforts.
- Structural damage is evident (e.g., missing shingles, collapsed ceilings, flooding).
- You suspect damage to the roof decking or insulation that requires an expert assessment.
- Insurance claims require documentation—a professional can provide reports for damage assessment.
A trusted roofing professional can conduct a thorough inspection and recommend long-term repairs to protect your home from future storms.
When Storms Hit, We’ve Got Your Roof Covered
Storms in the Twin Cities can be unpredictable, but your roof’s protection shouldn’t be. While quick fixes can buy you time during an emergency, they aren’t a long-term solution. Investing in professional repairs ensures your roof remains strong, secure, and ready to handle Minnesota’s toughest weather.
At Twin Cities Siding and Roofing, we’re committed to delivering high-quality repairs and proactive solutions that safeguard your home for years to come. Whether you need emergency storm repairs, a thorough inspection, or a full roof replacement, our team is ready to help.
Don’t let a small leak turn into a big problem. Contact our team at 651-571-9557 for a free estimate. Our experts will assess the damage and provide the professional care your home deserves.


